同样和前面一样新建一个空的Web项目,都在根目录添加Module,Models,Views文件夹

添加Nuget包

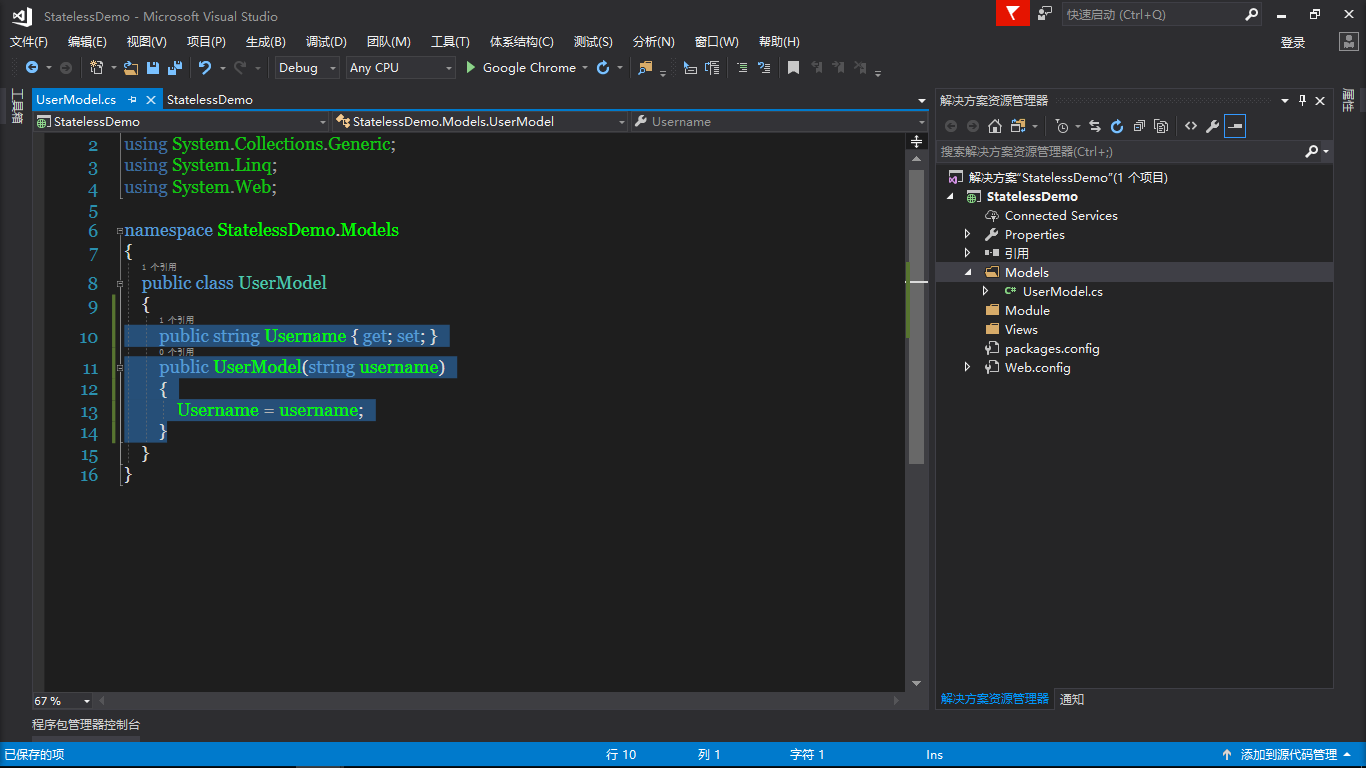
在Models文件夹里面添加UserModel类
        public string Username { get; set; }
        public UserModel(string username)
        {
            Username = username;
        }
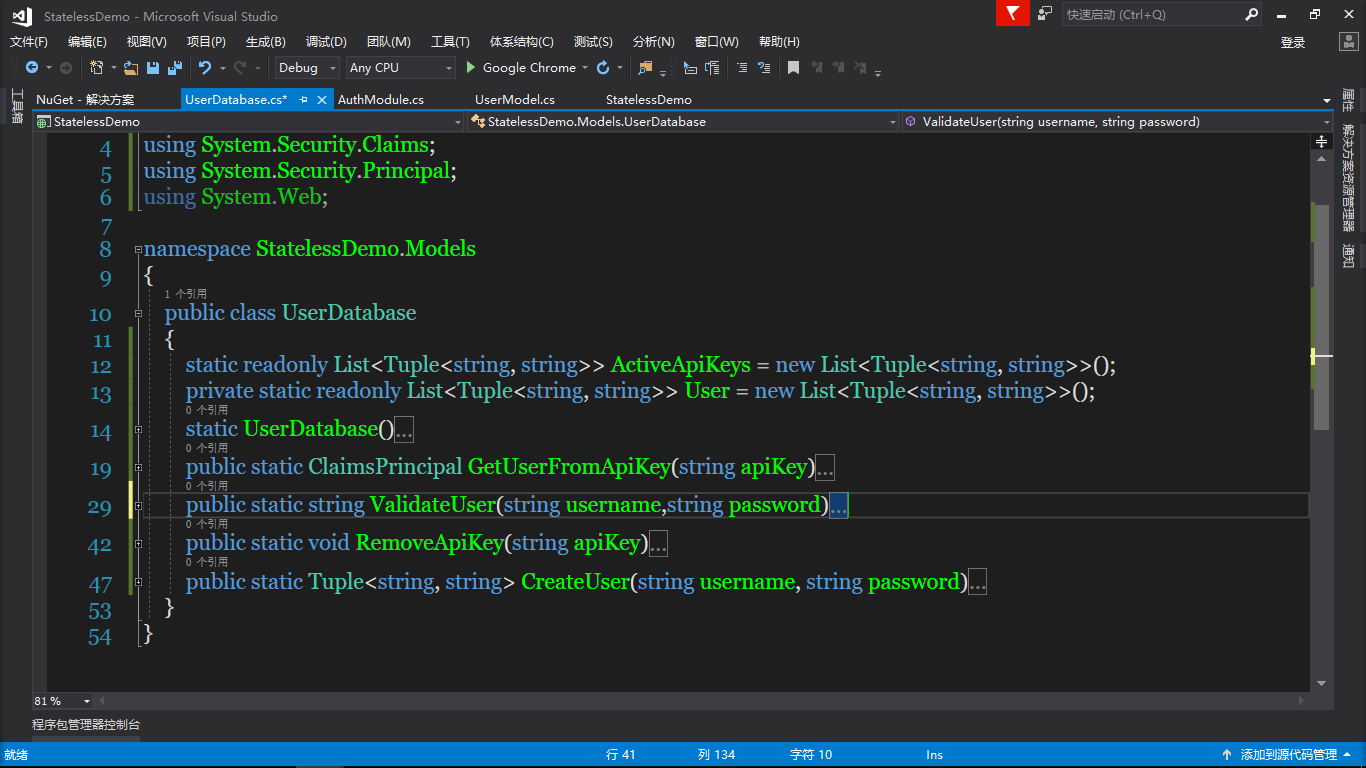
在Models文件夹里面添加Userdatabase类
        static readonly List<Tuple<string, string>> ActiveApiKeys = new List<Tuple<string, string>>();
        private static readonly List<Tuple<string, string>> User = new List<Tuple<string, string>>();
        static UserDatabase()
        {
            User.Add(new Tuple<string, string>("Lexan","password"));
            User.Add(new Tuple<string, string>("User","password"));
        }
        public static ClaimsPrincipal GetUserFromApiKey(string apiKey)
        {
            var activeKey = ActiveApiKeys.FirstOrDefault(x=>x.Item2==apiKey);
            if (activeKey==null)
            {
                return null;
            }
            var userRecord = User.First(x=>x.Item1==activeKey.Item1);
            return new ClaimsPrincipal(new GenericIdentity(userRecord.Item1,"Lexan"));
        }
        public static string ValidateUser(string username,string password)
        {
            //尝试从 "数据库" 中获取与给定用户名和密码匹配的用户
            var userRecord = User.FirstOrDefault(x=>x.Item1==username&&x.Item2==password);
            if (userRecord==null)
            {
                return null;
            }
            //既然用户已被验证, 请创建一个可用于后续请求的 api 密钥。
            var apiKey = Guid.NewGuid().ToString();
            ActiveApiKeys.Add(new Tuple<string, string>(username,apiKey));
            return apiKey;
        }
        public static void RemoveApiKey(string apiKey)
        {
            var apiKeyToRemove = ActiveApiKeys.First(x=>x.Item2==apiKey);
            ActiveApiKeys.Remove(apiKeyToRemove);
        }
        public static Tuple<string, string> CreateUser(string username, string password)
        {
            var user = new Tuple<string, string>(username,password);
            User.Add(user);
            return user;
        }
在Module文件夹中添加AuthModule类,如下代码
public class AuthModule:NancyModule
    {
        //post ["/login"] 方法主要用于获取后续调用的 api 密钥
        public AuthModule():base("/auth/")
        {
            Post("/", Lexan =>
             {
             var apiKey = UserDatabase.ValidateUser((string) this.Request.Form.Username,
                (string)this.Request.Form.Password);
                 return string.IsNullOrEmpty(apiKey) ? new Response { StatusCode = HttpStatusCode.Unauthorized }
                 : this.Response.AsJson(new { ApiKey=apiKey});
            });
            //销毁关键api 密钥
            Delete("/",Lexan=>
            {
                var apiKey = (string)this.Request.Form.ApiKey;
                UserDatabase.RemoveApiKey(apiKey);
                return new Response { StatusCode=HttpStatusCode.OK};
            });
        }

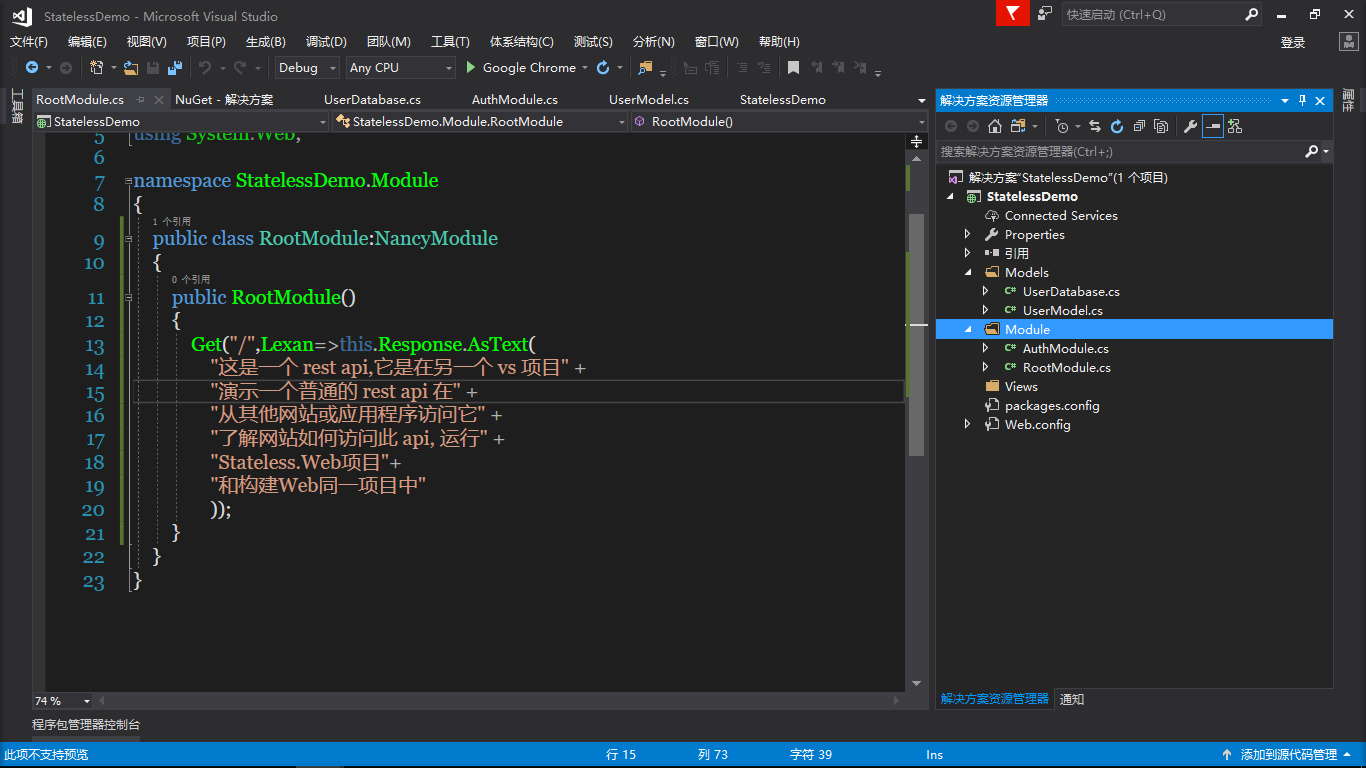
在Module文件下添加RootModule类
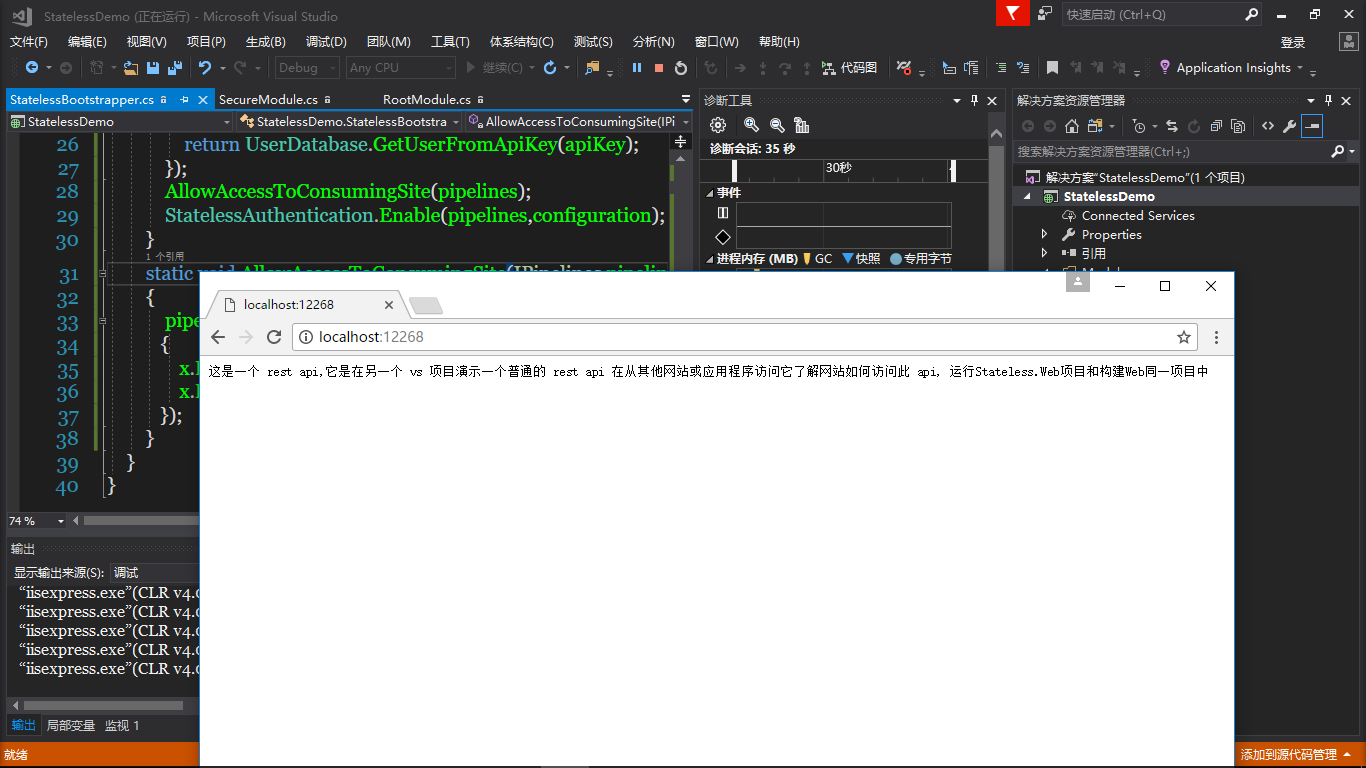
        public RootModule()
        {
            Get("/",Lexan=>this.Response.AsText(
                "这是一个 rest api,它是在另一个 vs 项目" +
                "演示一个普通的 rest api 在" +
                "从其他网站或应用程序访问它" +
                "了解网站如何访问此 api, 运行" +
                "Stateless.Web项目"+
                "和构建Web同一项目中"
                ));
        }
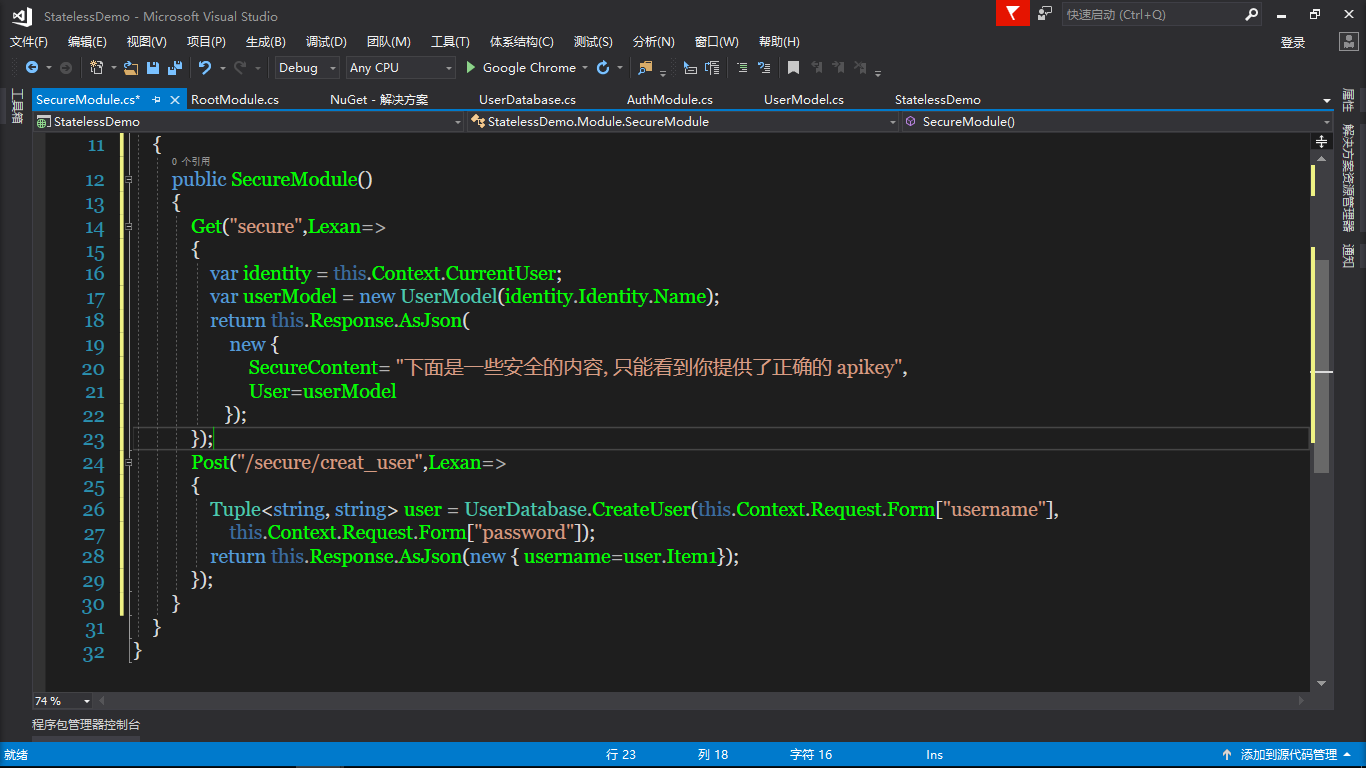
在Module文件夹下添加SecureModule类
public SecureModule()
        {
            Get("secure",Lexan=>
            {
                var identity = this.Context.CurrentUser;
                var userModel = new UserModel(identity.Identity.Name);
                return this.Response.AsJson(
                    new {
                        SecureContent= "下面是一些安全的内容, 只能看到你提供了正确的 apikey",
                        User=userModel
                   });
            });
            Post("/secure/creat_user",Lexan=>
            {
                Tuple<string, string> user = UserDatabase.CreateUser(this.Context.Request.Form["username"],
                    this.Context.Request.Form["password"]);
                return this.Response.AsJson(new { username=user.Item1});
            });
        }
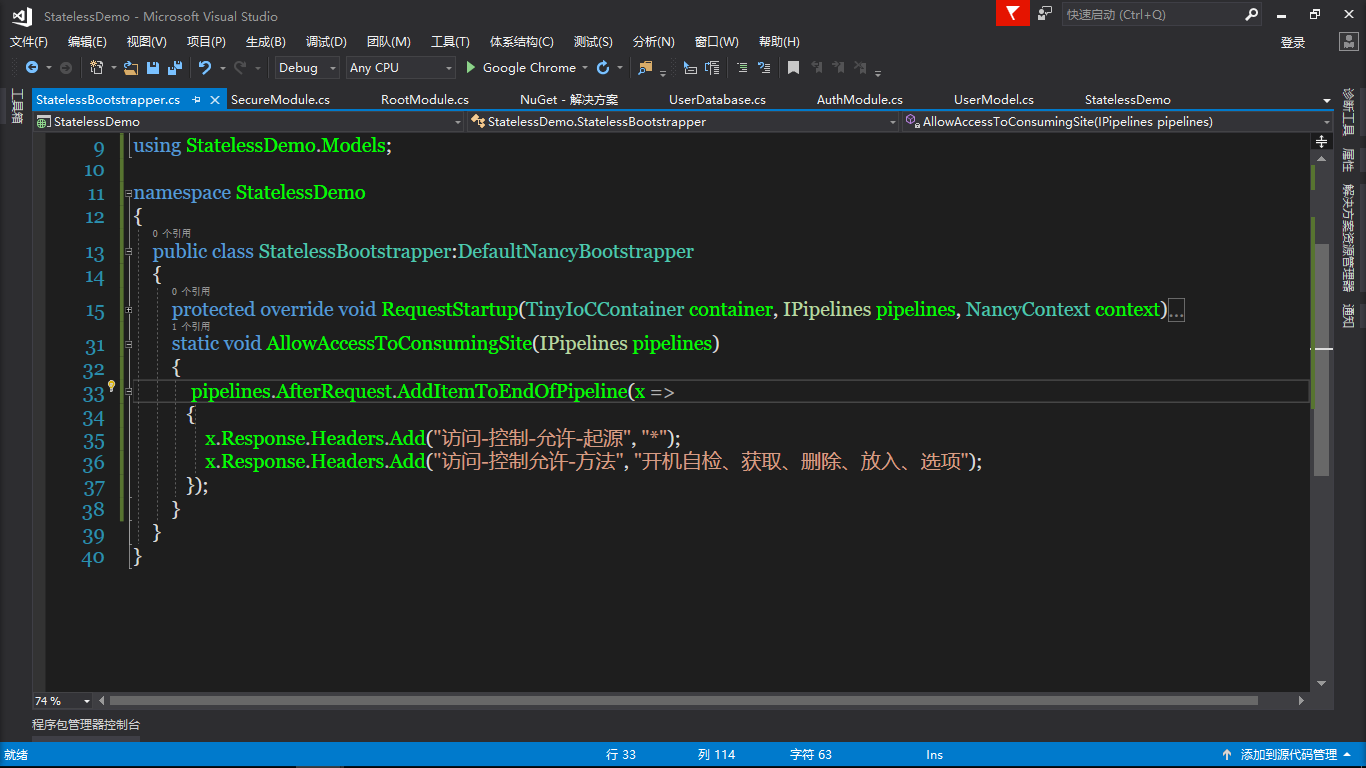
继续在根目录添加StatelessBootstrapper
        protected override void RequestStartup(TinyIoCContainer container, IPipelines pipelines, NancyContext context)
        {
            //在请求启动时, 我们修改请求管线
            //包括无状态身份验证
            //配置无状态身份验证很简单。只需使用
            //NancyContext 得到 apiKey。然后, 使用 apiKey 获取
            //用户的身份。
            //// base.RequestStartup(container, pipelines, context);
            var configuration = new StatelessAuthenticationConfiguration(nancyContext =>
            {
                var apiKey = (string)nancyContext.Request.Query.ApiKey.Value;
                return UserDatabase.GetUserFromApiKey(apiKey);
            });
            AllowAccessToConsumingSite(pipelines);
            StatelessAuthentication.Enable(pipelines,configuration);
        }
        static void AllowAccessToConsumingSite(IPipelines pipelines)
        {
            pipelines.AfterRequest.AddItemToEndOfPipeline(x =>
           {
               x.Response.Headers.Add("访问-控制-允许-起源", "*");
               x.Response.Headers.Add("访问-控制允许-方法", "开机自检、获取、删除、放入、选项");
           });
        }
再来看看运行的结果
成功了,谢谢欣赏!