��ʵ��һ��������һ��������ĵ����б�����ʵ��û�е������ܣ�ֻ�����IJ˵����ѣ����ڱ����н�һ���ḻ���ǵĵ����б��������ӵ������ܣ���Ŀ�Դ��ɣ�
һ�������ȷḻһ�µ����б�
Ŀ�꣺1������ͼ�ꣻ2��������ϸ��3�����ϵ�����ť��
������ͼ���ļ�����ק�������µ�Resources��

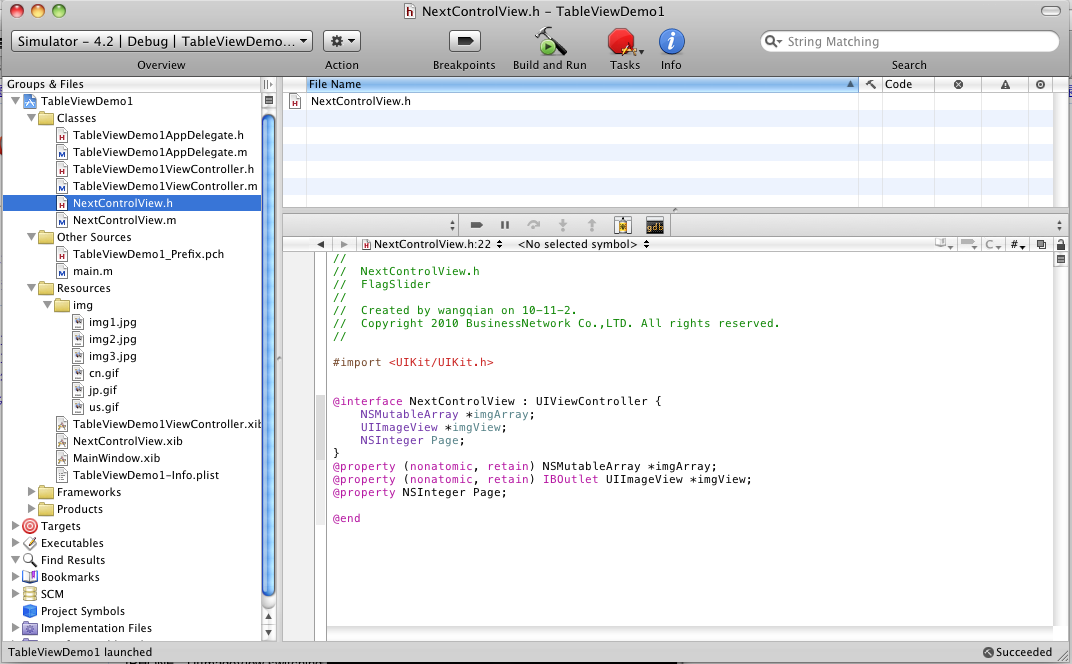
��h�ļ�������ͼ��NSMutableArray *iconItems; NSMutableArray *detailItems;��������
@interface TableViewDemo1ViewController :
UIViewController<UITableViewDelegate,UITableViewDataSource> {
	IBOutlet UITableView *tableViewList;
	NSMutableArray *dataItems;
	NSMutableArray *iconItems;
        NSMutableArray *detailItems;
}
@end
��m�ļ�viewDidLoad����iconItems�ij�ʼ������
- (void)viewDidLoad {
[super viewDidLoad];
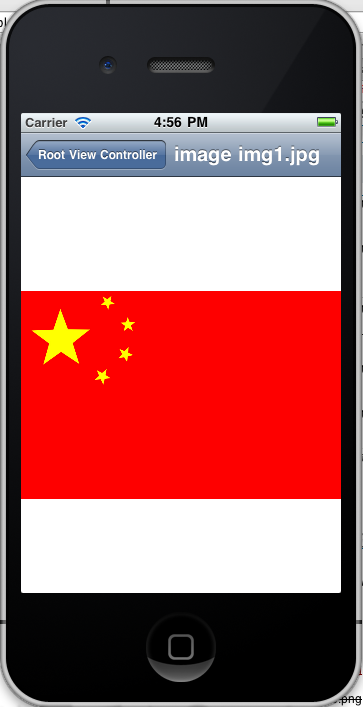
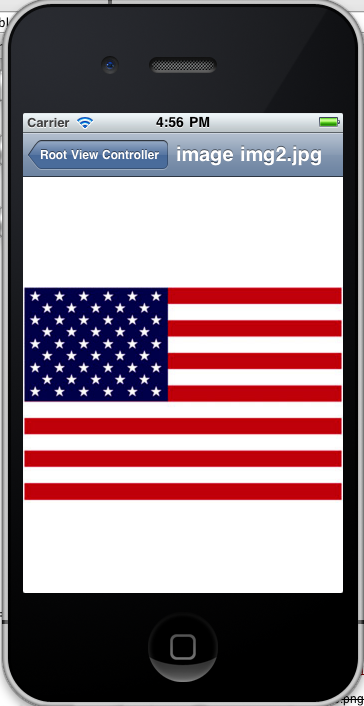
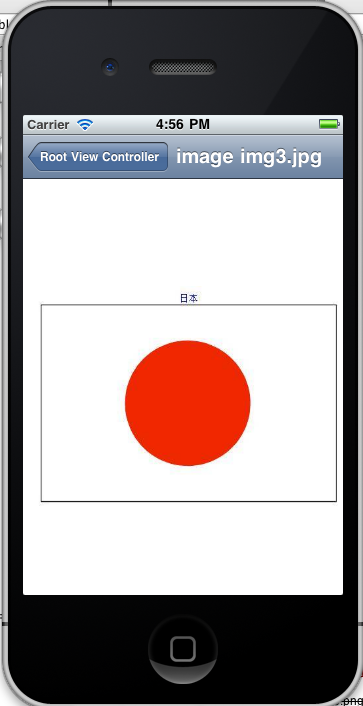
dataItems=[[NSMutableArray alloc]initWithObjects:@"�й�",@"����",@"�ձ�",nil];
iconItems��[[NSMutableArray alloc]initWithObjects:@"cn",@"us",@"jp",nil];
detailItems=[[NSMutableArray alloc]initWithObjects:@"China",@"America",@"Japan",nil];
}
���϶����ú���UITableViewCell *)tableView:(UITableView *)tableView cellForRowAtIndexPath:(NSIndexPath *)indexPath����
ע��ʵ����cellʱע����ʽ��ԭ����UITableViewCellStyle
Defaultȱʡ�ij�UITableViewCellStyleSubtitle
- (UITableViewCell *)tableView:(UITableView *)tableView cellForRowAtIndexPath:(NSIndexPath *)indexPath {
static NSString *CellIdentifier = @"Cell";
UITableViewCell *cell = [tableView dequeueReusableCellWithIdentifier:CellIdentifier];
if (cell == nil) {
//ʵ����cellʱע����ʽ��ԭ����UITableViewCellStyleDefaultȱʡ�ij�UITableViewCellStyleSubtitle
cell = [[[UITableViewCell alloc] initWithStyle:UITableViewCellStyleSubtitle reuseIdentifier:CellIdentifier] autorelease];
}
NSUInteger row=[indexPath row];
//����ͼ��
cell.imageView.image =[UIImage imageNamed:[NSString stringWithFormat:@"%@.gif",[iconItems objectAtIndex:row]]];
cell.textLabel.text=[dataItems objectAtIndex:row];
//������ϸ
cell.detailTextLabel.text =[detailItems objectAtIndex:row];
// Configure the cell.
return cell;
}
���ӵ�����ť ��m�ļ�������ί�к����C tableView:accessoryTypeForRowWithIndexPath:
-(UITableViewCellAccessoryType)tableView:(UITableView *)tableView accessoryTypeForRowWithIndexPath:(NSIndexPath *)indexPath{
//��������ѡ��ť
return UITableViewCellAccessoryDetailDisclosureButton;
}
����������ִ�г���
 ������Ҫע���ʱ�ٷ��ĵ���������accessoryTypeForRowWithIndexPath���ί�к�����iOS 3.0֮���Ѿ��������ˣ����ڿ�����UITableViewCell *)tableView:(UITableView *)tableView cellForRowAtIndexPath:(NSIndexPath *)indexPath����������
cell.accessoryType= UITableViewCellAccessoryDetailDisclosureButton;
- (UITableViewCell *)tableView:(UITableView *)tableView cellForRowAtIndexPath:(NSIndexPath *)indexPath {
static NSString *CellIdentifier = @"Cell";
UITableViewCell *cell = [tableView dequeueReusableCellWithIdentifier:CellIdentifier];
if (cell == nil) {
//ʵ����cellʱע����ʽ��ԭ����UITableViewCellStyleDefaultȱʡ�ij�UITableViewCellStyleSubtitle
cell = [[[UITableViewCell alloc] initWithStyle: UITableViewCellStyleSubtitle reuseIdentifier:CellIdentifier] autorelease];
}
NSUInteger row=[indexPath row];
//����ͼ��
cell.imageView.image =[UIImage imageNamed:[NSString stringWithFormat:@"%@.gif",[iconItems objectAtIndex:row]]];
cell.textLabel.text=[dataItems objectAtIndex:row];
//������ϸ
cell.detailTextLabel.text =[detailItems objectAtIndex:row];
//������ť
cell.accessoryType= UITableViewCellAccessoryDetailDisclosureButton;
return cell;
}
�������ڵ�����ť�Ѿ����˵���ֻ�Ǹ��հ�ť����һ�����������书��
1������NextControlView���ļ���NextControlView.xib�ļ�������������ͼƬ
2���༭NextControlView.m
- (void)viewDidLoad {
	self.imgArray = [[NSMutableArray alloc] init];
	for(int i=1;i<=3;i++)
	{
		NSString *imgName =[NSString stringWithFormat:@"img%d.jpg",i];
		[self.imgArray addObject:imgName];
	}
	[self.imgArray release];

	UIImageView *img = [[UIImageView alloc] initWithFrame:CGRectMake(0, 0, 320, 436)];
	[img setImage:[UIImage imageNamed:[self.imgArray objectAtIndex:0]]];
	self.imgView = img;
	[self.imgView setContentMode:UIViewContentModeScaleAspectFit];
	[self.view addSubview:imgView];
	[img release];

	[imgView setImage:[UIImage imageNamed:[self.imgArray objectAtIndex:Page]]];
	self.title = [NSString stringWithFormat:@"image %@",[self.imgArray objectAtIndex:Page]];
    [super viewDidLoad];
}
3����TableViewDemo1ViewController.m���������µ�����ť�Ĵ������룬
-(void)tableView:(UITableView *)tableView accessoryButtonTappedForRowWithIndexPath:(NSIndexPath *)indexPath{
    NSInteger row = indexPath.row;
	nextControlView = [[NextControlView alloc] initWithNibName:@"NextControlView" bundle:nil];
	nextControlView.Page=row;
	[self.navigationController pushViewController:nextControlView animated:YES];
}
�ã������������г�����һ��
���Ǿ���������������ťʱû���κη�Ӧ����ʱ��ô�����أ���������ϸ����һ������ĵ�����ť����������ע�����һ�д��룺
[self.navigationController pushViewController:nextControlView animated:YES]; �����л����湦�ܵ�
��ôself.navigationController ��ʲô����ʵ�������������һ������Ҫ�Ŀ���������������������Ϊself ������navigationջ��,self.navigationController�Ų���Ϊ�գ��ſ���������ת�����档�����������������navigationController
���ȸ���TableViewDemo1AppDelegate.h�������£�
����navigationController ȥ��viewController
@interface TableViewDemo1AppDelegate : NSObject <UIApplicationDelegate> {
    UIWindow *window;
    //TableViewDemo1ViewController *viewController;
	UINavigationController *navigationController;
}

@property (nonatomic, retain) IBOutlet UIWindow *window;
//@property (nonatomic, retain) IBOutlet TableViewDemo1ViewController *viewController;
@property (nonatomic, retain) IBOutlet UINavigationController *navigationController;
@end
��TableViewDemo1AppDelegate.m��didFinishLaunchingWithOption��������
- (BOOL)application:(UIApplication *)application didFinishLaunchingWithOptions:(NSDictionary *)launchOptions {

    //[self.window addSubview:viewController.view];
	[window addSubview:[navigationController view]];
    [self.window makeKeyAndVisible];

    return YES;
}
��MainWindow.xib�ļ���IB�������ɾ��ԭ����Table View Demo1 View Controller
����һ��Navigation Controller��������View Controller (Root View Controller)������TableViewDemo1ViewController
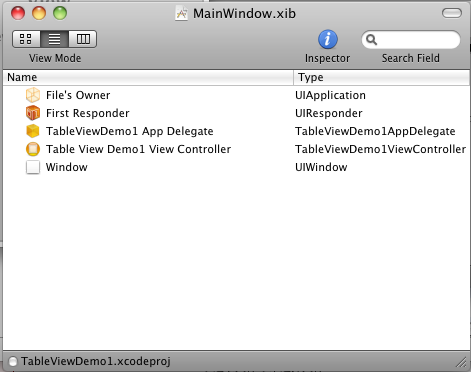
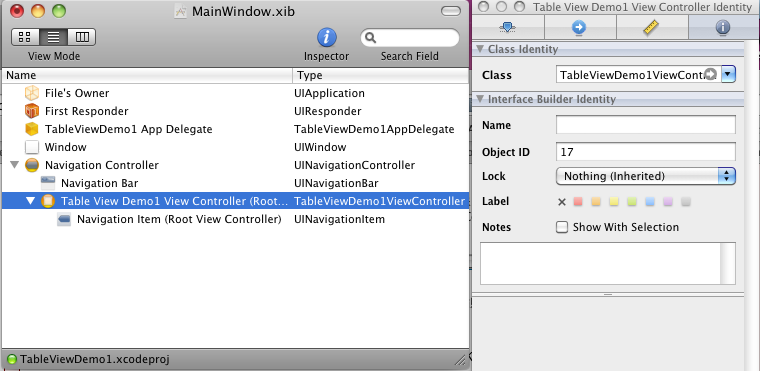
���ѡ��TableViewDemo1 App Delegate

����ͼ���ѡ��navigationController��Table View Demo1 View Controller������
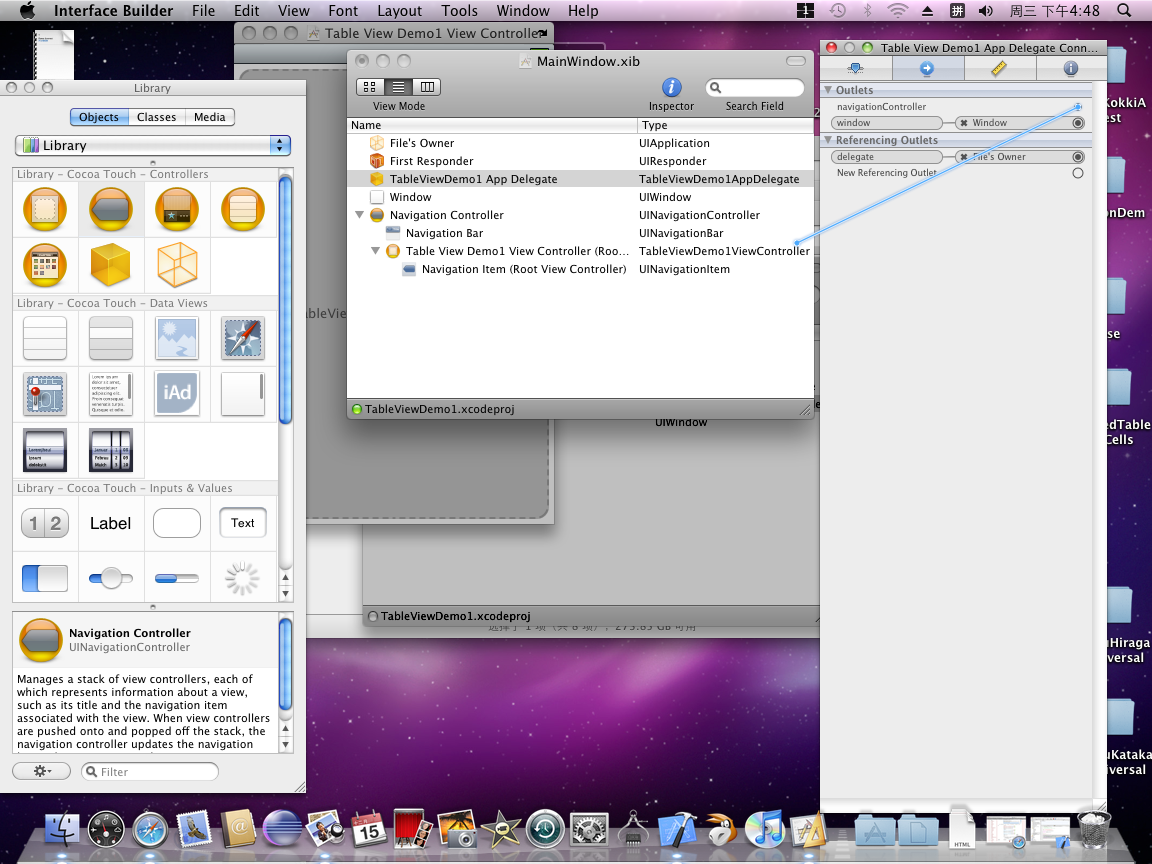
������
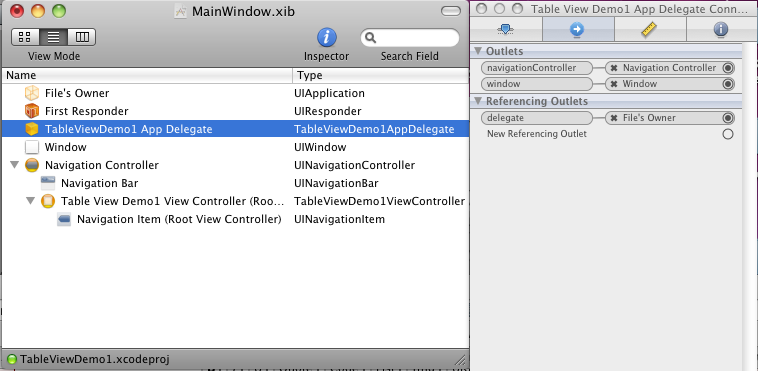
OK�������ǵ���������������ϣ����г���
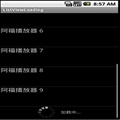
�ֱ����й����������ձ�һ��������ʾ����ͼ��
�ڱ����л���������������Ҳ�Ѿ����ɣ�����һʵ���л����һ�������ӵ����б��ĸ��ӱ༭
����
�����̴��������TableViewDemo2.zip


![[wp7����]wp7~~ѧϰ�̳�����~~������](/Upload/SmallIMG/2012031511/5B4A215501F44505.png)